CampusLogin organizes and presents key student management information, in a way that is easy to read and use, on a user interface called “Dashboard”. Every organization can customize this tool to meet their specific needs. As instructors some of the more common features used are listed below.
You can access the Student dashboard by clicking on the dashboard tab on the Student tab.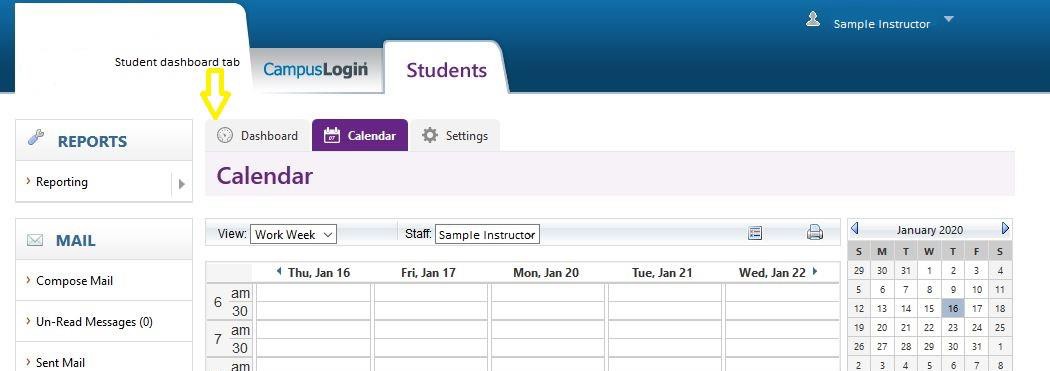
Once there you will be able to access the key tools that your organization has customized for your role. As an Instructor you will see displayed only the data that pertains to your classes and students. You will not view other Instructors information.
The first option you will see is the Filter option. If you are an Instructor at more than 1 campus and/or instruct students in more than 1 program, the filter gives you the flexibility to display just the results of your inquiry instead of all the data for you. Using the dropdown feature you can select the campus and the program you wish to view. To view all you would leave the filters as Please select. To
refresh the data click on the perpetual arrow symbol . A pop up will appear with the following message “Please wait for system to refresh data!”. Once the data is refreshed the popup will disappear. You will find the refresh option available for each information management tool section.
You can view what classes you are scheduled for by clicking on the View Schedule link at the top right-hand corner. This will open another tab where you have the option of Multi Select or drilling down in the drop-down tab. Once you select the option and criteria you wish, your calendar will appear. You have the option of printing either a summary of the results or a landscape of the calendar data.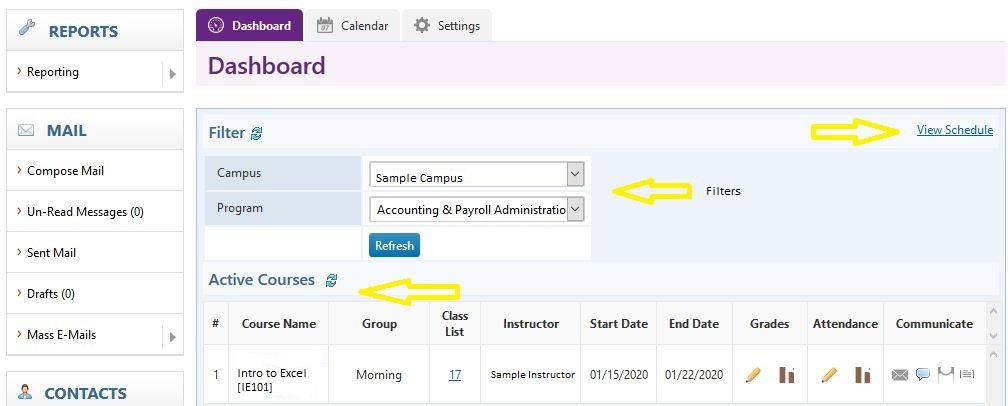
Active Courses
The first student management tool you will see is the Active Courses section. This will display all of the current active courses you are instructing. The information is laid out by course giving group, class list, start and end dates and links to enter grades and attendance. There are also tools for communicating with the students as well.
The Class List column offers a link to the class list report. Once you select this a new tab will open on the Class list report which, once you enter the filters, shows the class list for each campus, program, course, course instance, start date etc. that you are currently instructing.
The start and end date reflect the scheduled start and end date of the course you are scheduled to instruct.
Under the Grades column there are 2 links. One is a pencil that will allow you to enter and/or edit grades for the class. You will see all students who are taking the course, as well as all the grading components that makes up the course (like Quiz, Mid-Term, Exam, etc). Once you enter a grade it
will automatically save. The other link ![]() will take you to the student grade summary report which shows by program, start date, course, group etc. the students overall grade.
will take you to the student grade summary report which shows by program, start date, course, group etc. the students overall grade.
Under the Attendance column there are 2 links. One is a pencil that will allow you to enter and/or edit attendance for the class. Students will automatically be marked as present. You only need to select which students were late, which students left early, and which students were absent. If your organization tracks if a late or absent is excused, then you can select the excused button. Data will
only be saved once you click “Save Student Attendance”.
Under the Communicate column there are 4 links. :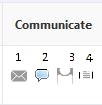
-
The first link, (1) the envelope, allows you to mass email your students (if you have been given this permission). Here you can select the course criteria and click on the view
contact list, hit the blue search button and a list of the required students will appear. You
can select all by selecting the
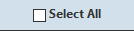 box at the top of the end column or you can select students manually by clicking on the selection box pertaining to them. Once you have made your selection, scroll down to the bottom and click on the blue Select Template button. You are given two options: Compose New Message or Select from an Existing Template. You will be given an option of when you wish the message to be delivered and, once you are ready, send the mass email. After sending a “Mass Email” you are able to go to “Email Tracking” to view who opened your email, and what links they clicked within your email.
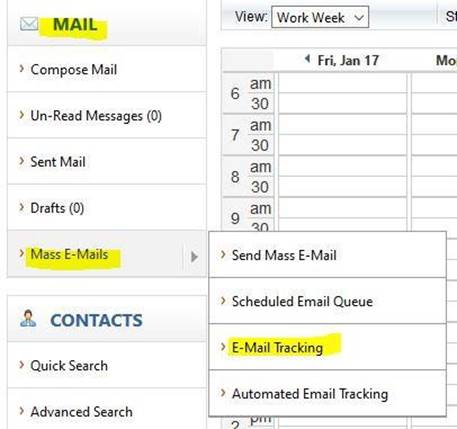
-
The next link, (2) allows you to mass text your students (if you have been given this permission). The process is similar to that of mass email.
-
The third link, (3) allows you to post announcements on the Student Login for your students. Please refer to the training document: CL Students – Student Login Announcement Tool – For Instructors, for instructions on this tool.
-
The fourth link, (4) allows you to post materials for your course that students are able to download from the student login if your organization has activated this feature. Please refer to the training document: CL Students – Course Materials Tool – For Instructors, for instructions on this tool.
Upcoming Courses
The next student management tool you can see is the Upcoming Courses section. This will display all of the upcoming courses where you have been scheduled to be the Instructor. It has the same options available other than grades and attendance.
Additional Sections
Additional sections may be available as well depending on the preferences of your organization. Most include links to the full reports. These sections can include, but are not limited to, any of the following:
Upcoming Mid-Point Date
Attendance Issues – Overall Percentage Attendance Issues – Missed Days Course Grade Issues
Outstanding Grades Outstanding Attendance Upcoming Internship
Speak to your Campus Manager or contact your CampusLogin account manager if you need any training or assistance using this tool.
CL-Students-Student-DashBoard-For-InstructorsDownload